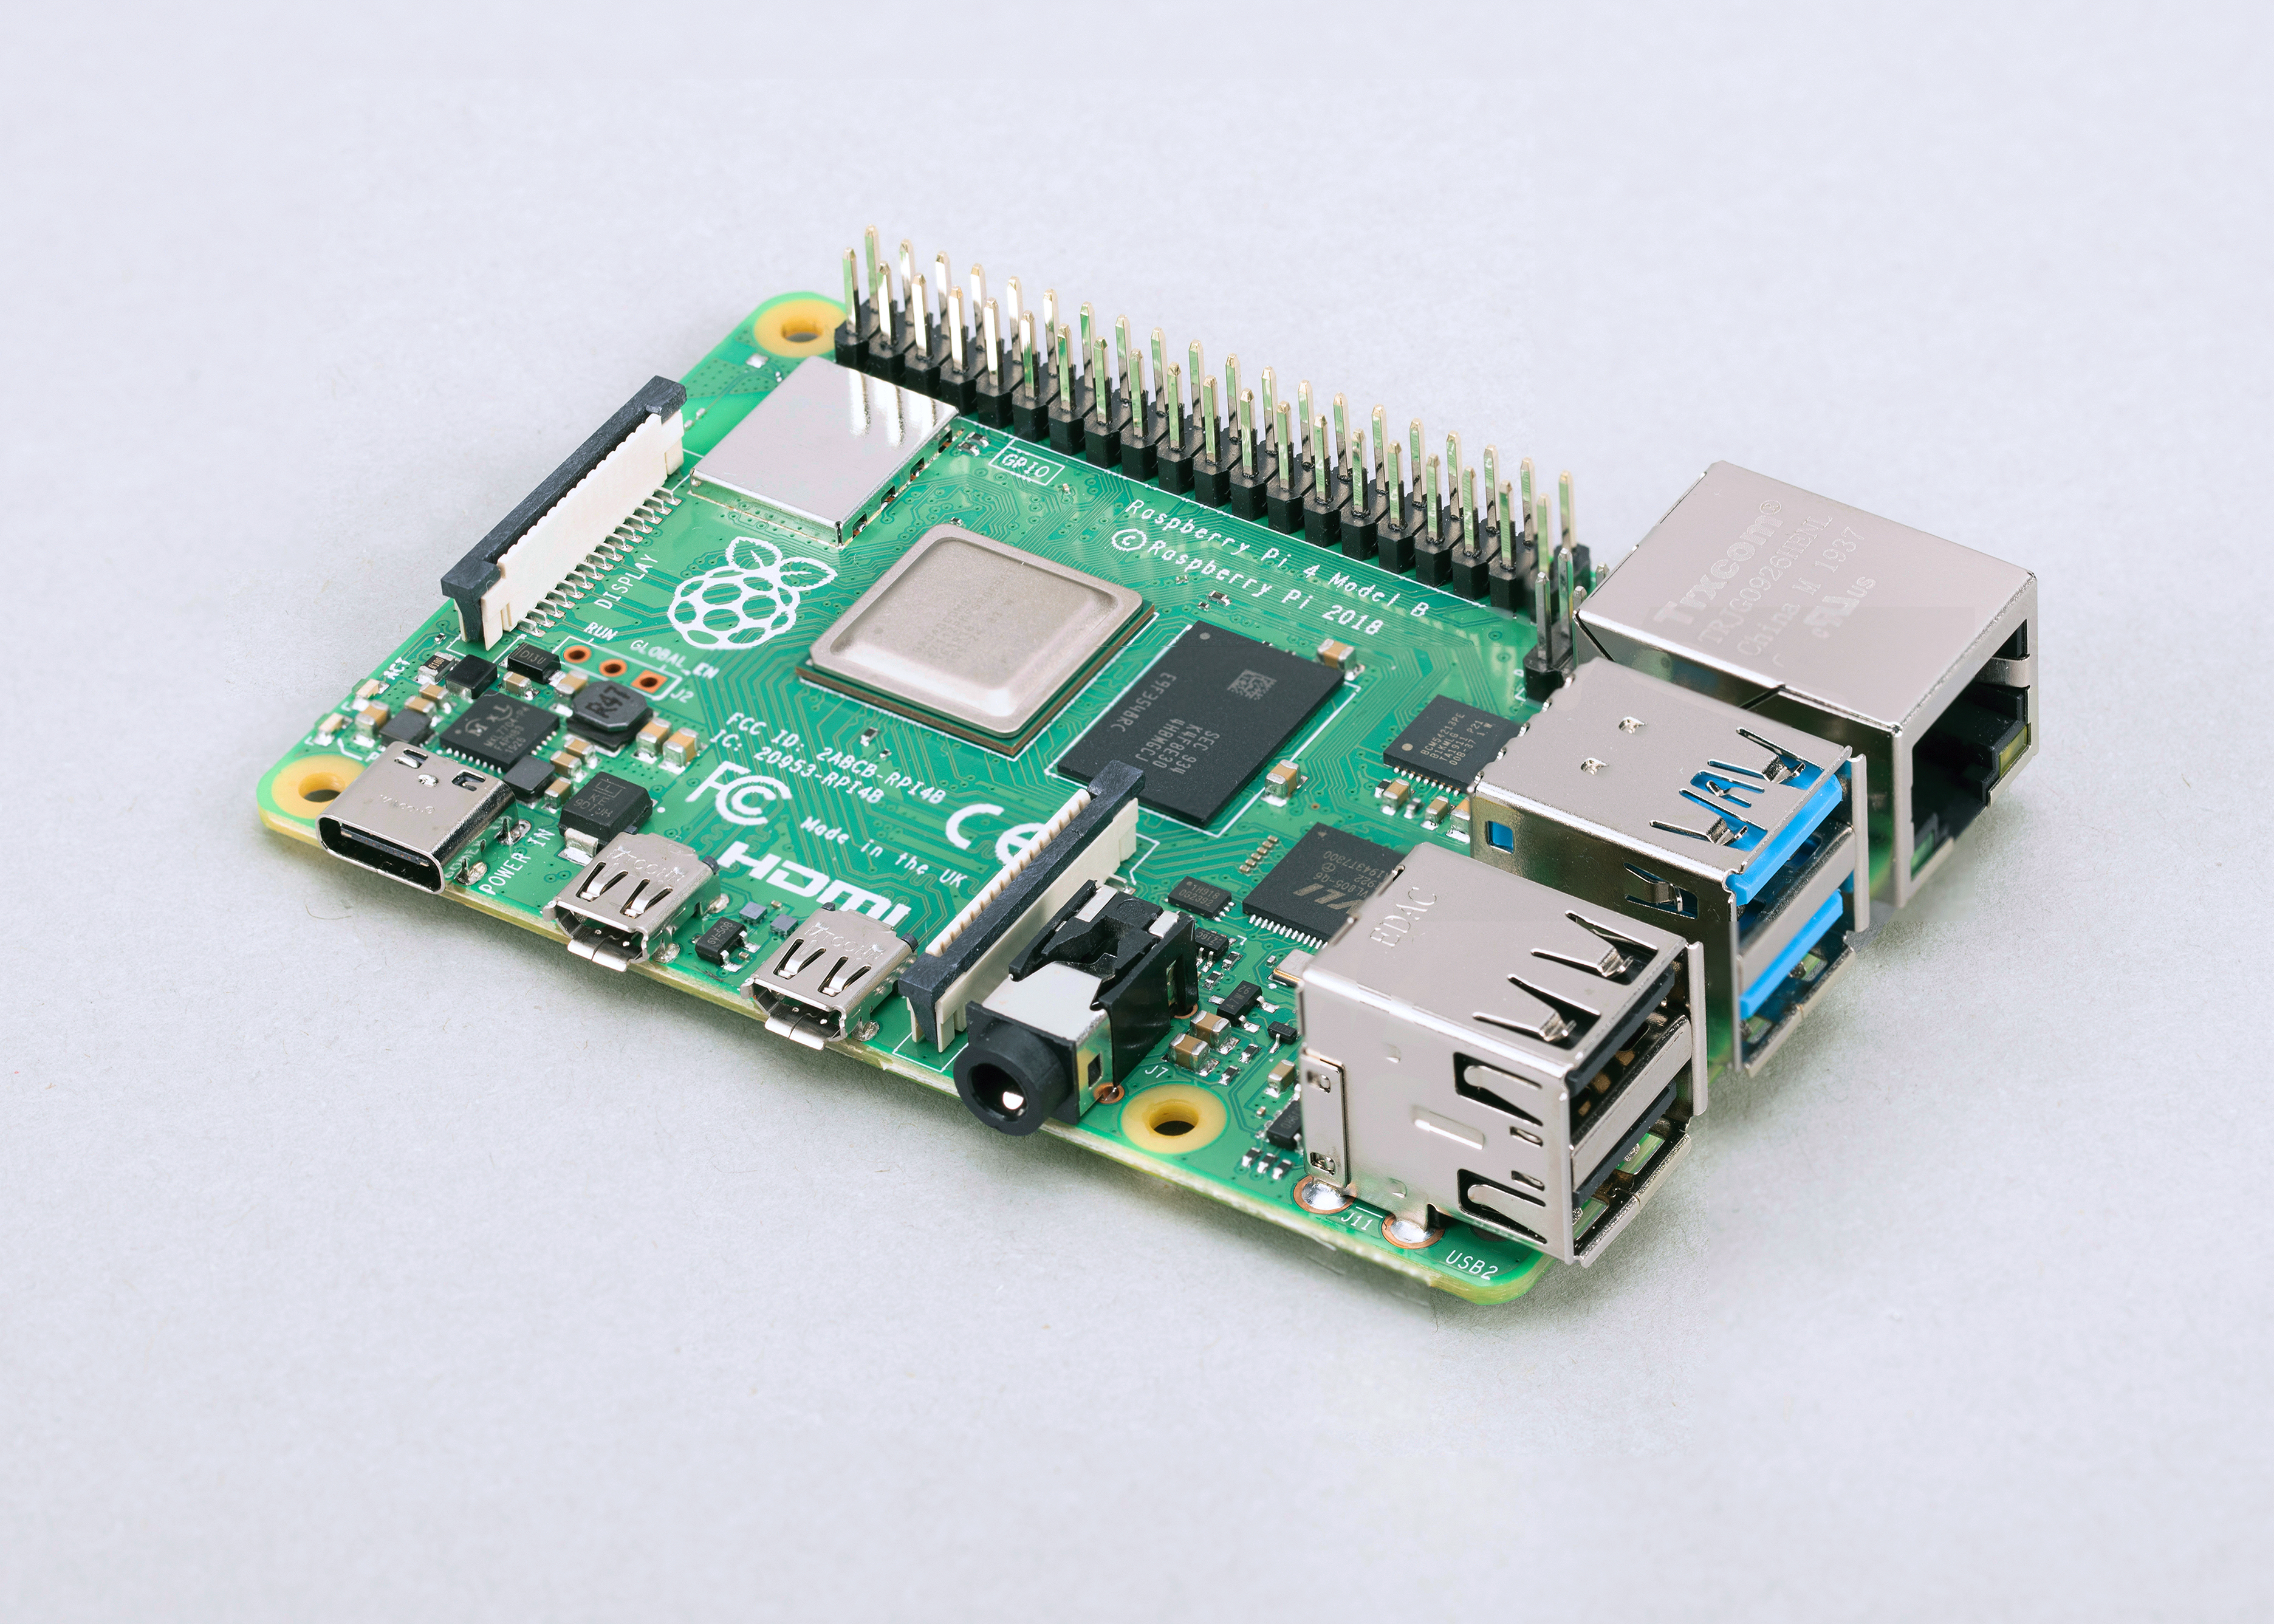
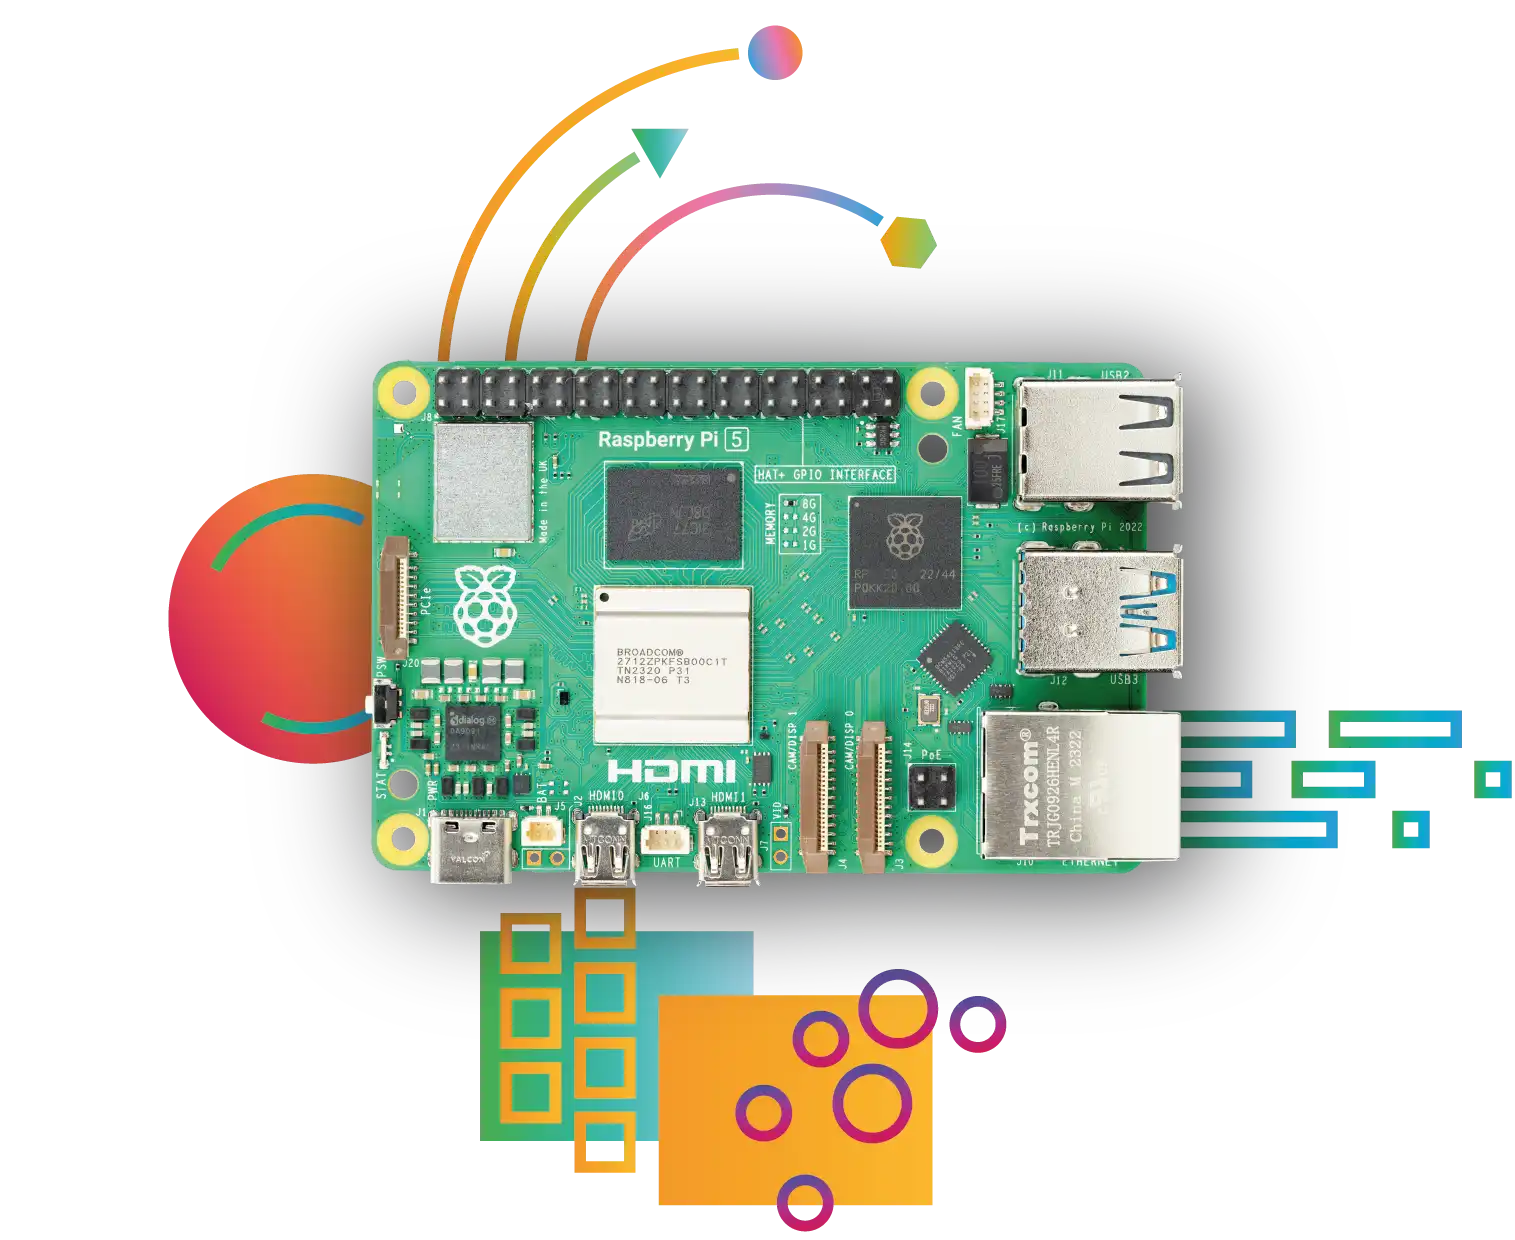
Raspberry Pi 4/5 Model B Hardware Guide
SPR runs great with Raspberry Pis when combined with a WiFi Adapter or Card. See the hardware requirements
Looking for more hardware support such as Rockchip/Banana Pi?
We also offer CM5 Compute Boards and PI4 Starter Kits.
WiFi Access Point / WiFi Router Mode:
For running SPR on a Raspberry Pi 4/5, a pre-built image is available on the releases page.
You can download spr-debian.img.xz and flash it with a tool such as the Raspberry Pi Imager, or if you prefer to write the image using the command line:
# On a mac, write the image to the external disk (rdiskX).
# Be careful to make sure you identify your removable drive correctly.
$ xzcat spr-debian.img.xz | dd of=/dev/rdiskX bs=$[1024*1024]
Completing the Setup
- Plug in your Pi SPR to your local network using a ethernet cable, and boot
- On Pis, the built in WiFi hosts an open AP "sprlab-setup". Join the open AP and go to https://192.168.2.1 or https://spr.local.
- Alternatively, without connecting to the open AP, visit https://spr.local to run through the UI setup. This is a mDNS name, if it does not resolve: Check your router DHCP table to see if you can locate the Pi SPR or scan for it with ping/nmap.
- The setup will guide you through configuring your SPR networking and adding your first device, as well as setting a UI password.
You can skip the browser walkthrough and run the Command-Line Setup (TUI) over SSH instead.
Command-Line Setup (TUI)
If you'd rather configure SPR from the terminal — for example on a headless install — SPR ships with an nmtui-style text user interface. SSH into the Pi and run the setup script:
ssh [email protected]
sudo /home/spr/super/base/scripts/spr-setup-tui.sh
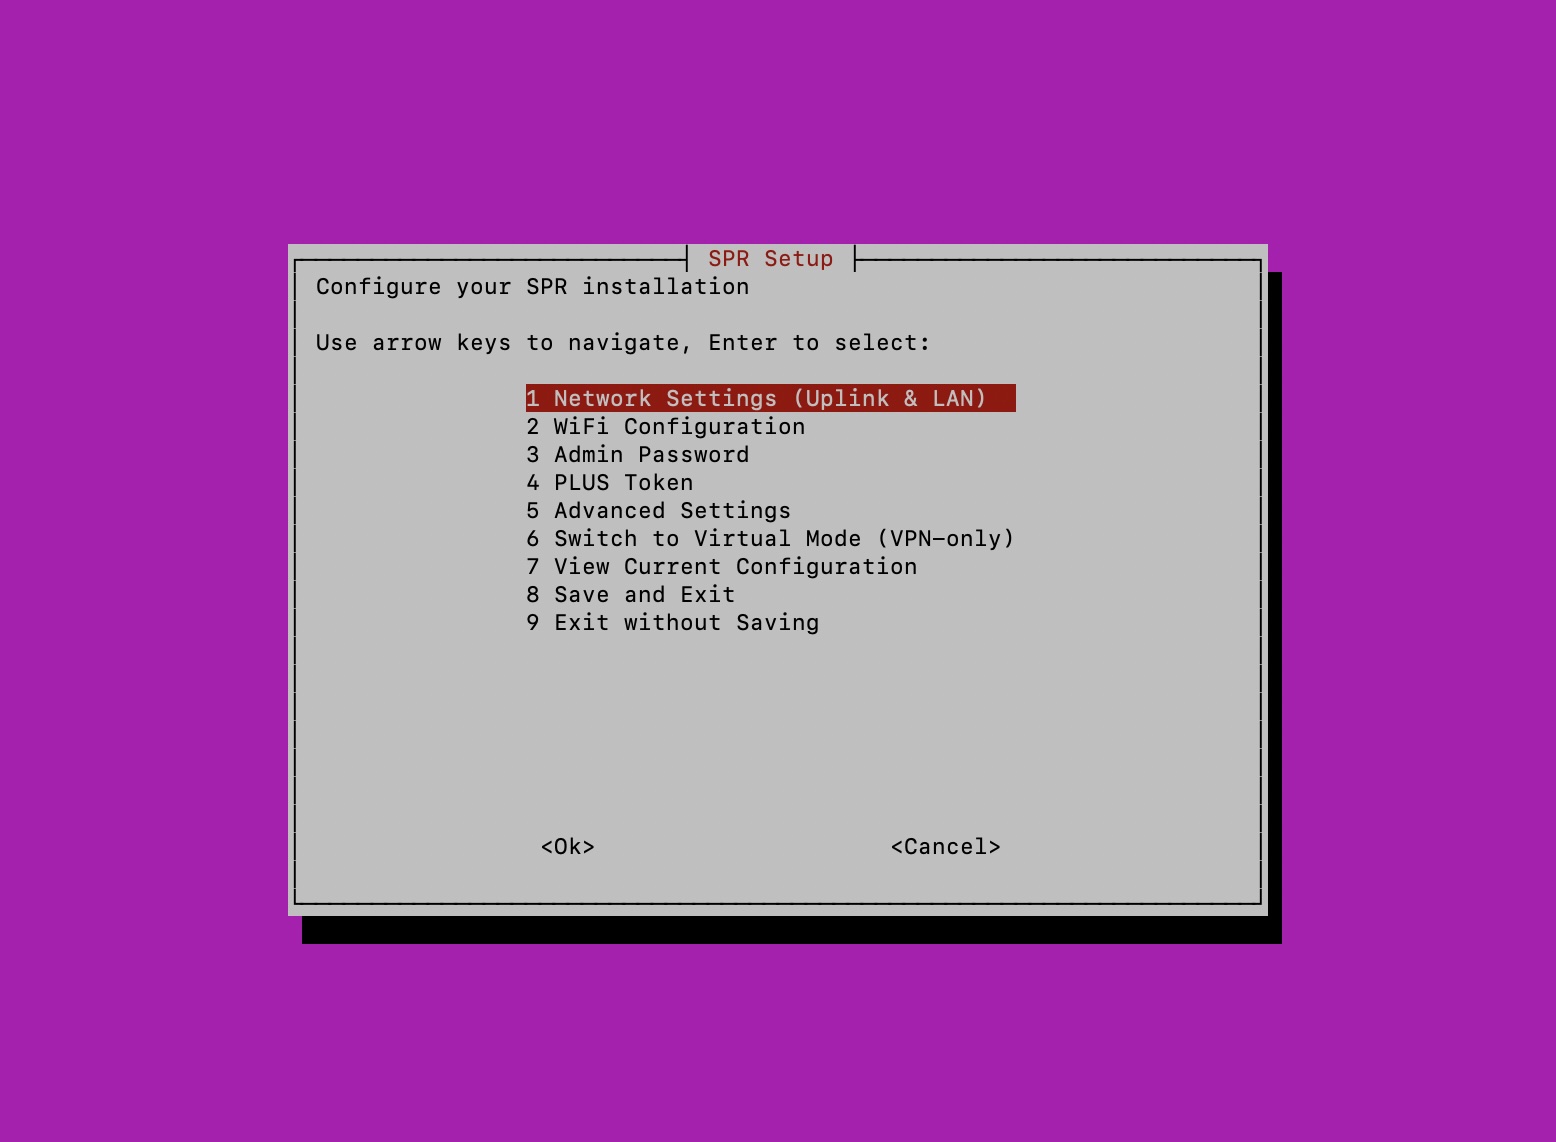
The TUI walks you through network interfaces, WiFi configuration, the admin password, the PLUS token, and advanced options including Virtual SPR (VPN-only) mode. Use the arrow keys to navigate, Enter to select, and Tab to move between buttons. Choose Save and Exit when you're done.
Post Setup Tasks
-
Enable DNS Ad Blocking and other DNS Blocklists for the network
-
Configure VPN Devices
-
Configure service reachability under the Firewall Services tab
Follow the SPR Setup Guide
If you prefer to run on an existing image, or run from a fresh Ubuntu server install, you can Follow the SPR setup guide
Hardware Requirements
The current setup assumes you'll be using a Raspberry Pi Model 4b with an mt76 based wireless adapter. The built-in ethernet port of the Raspberry Pi is connected to upstream/WAN/internet.
Running SPR
- A WiFi Dongle for better performance and WPA3 support. The following WiFi6 dongles work great: Netgear's A8000 6-E, and the bulkier ALFA AWUS036AXML 6-E. For Wifi5: Netgear's A620 and Alfa's AWUS036ACM.
The WiFi 5 dongles have been tested to perform well with a 500-550Mbps top speed in a low noise environment and the WiFi 6 dongles can reach closer to 700Mpbs in a low noise environment.
-
A USB SSD works best. A 16GB SD card can also be used but is not recommended
-
Ethernet cable for setup (and if you run uplink over the wire)
-
Optional An Ethernet USB Dongle for additional LAN devices since the built-in ethernet card (eth0) will be used for the WAN. The UE 300 has been tested to run near line speed on the Pi (950Mbps). The U3 330 also works and provides additional USB 3.0 ports.
-
Optional For running multiple WiFi adapters, a powered USB 3.0 capable hub is recommended
Grab the Complete Starter Kit for everything you need to get started here
Building from source
- 8 GB of RAM are recommended for building SPR on the Pi. Any amount of RAM can work for building but ramdisks have to be disabled in the docker build. The prebuilt GHCR has prebuilt SPR images available also.
Using a different wireless card
For using a different wireless adapter, the default hostapd configuration may need to be modified in the UI or in configs/wifi/. Note that the built-in Raspberry Pi Wireless card can not be used as an AP by default as it does not support AP/VLAN, which is a feature that SPR relies on.