Run Virtual SPR on a AWS Micro Tier Instance
Introduction
This guide shows how to setup Virtual SPR on a Micro Tier Instance on AWS, and connect to it using WireGuard VPN.
The result is a private VPN with a custom DNS server able to block ads, log traffic, and more features included in SPR.
For a more general and in-depth guide see the Virtual SPR Guide.
Create a Instance
Sign in to AWS Console and navigate to Instances in the menu. Click Launch Instances for your selected region.

Name your instance and select Ubuntu and 64-bit (x86) as architecture under OS Images.
For instance type choose any micro tier eligible for free, t2.micro is used in the example.
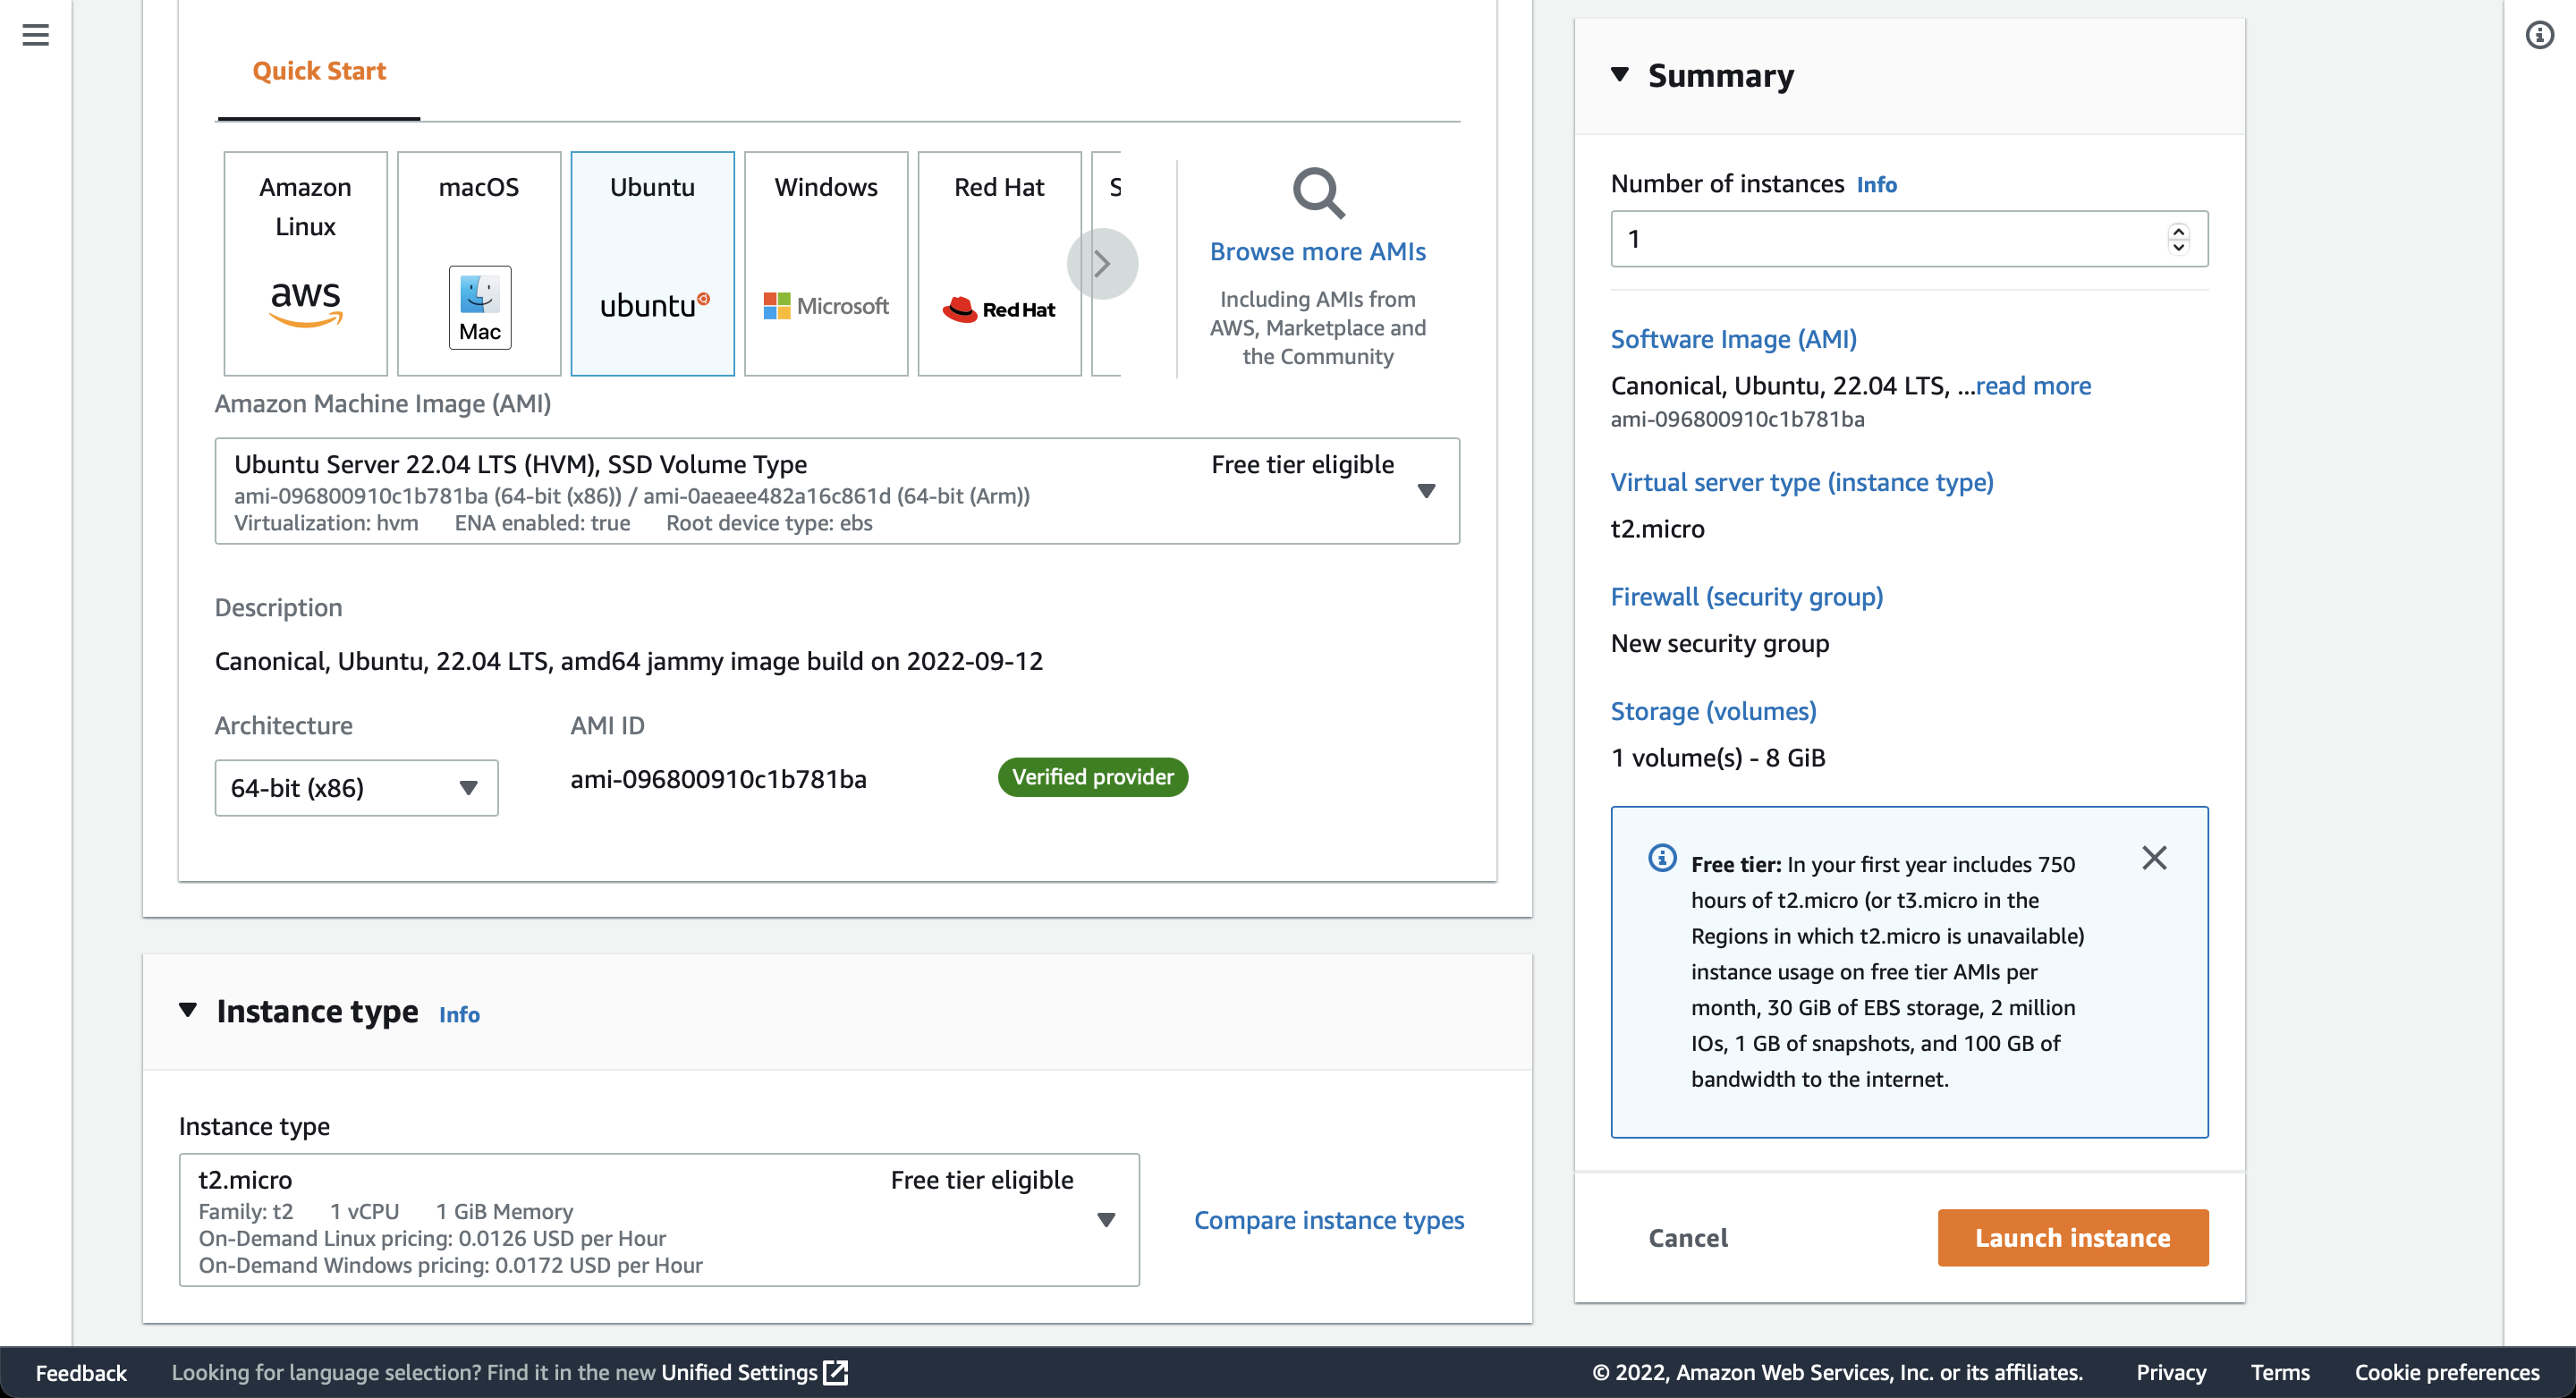
If you already have a keypair that you want to use, select it under Key pair or click Create new key pair, save the .pem-file to your ~/.ssh directory and make sure only your user can read it.
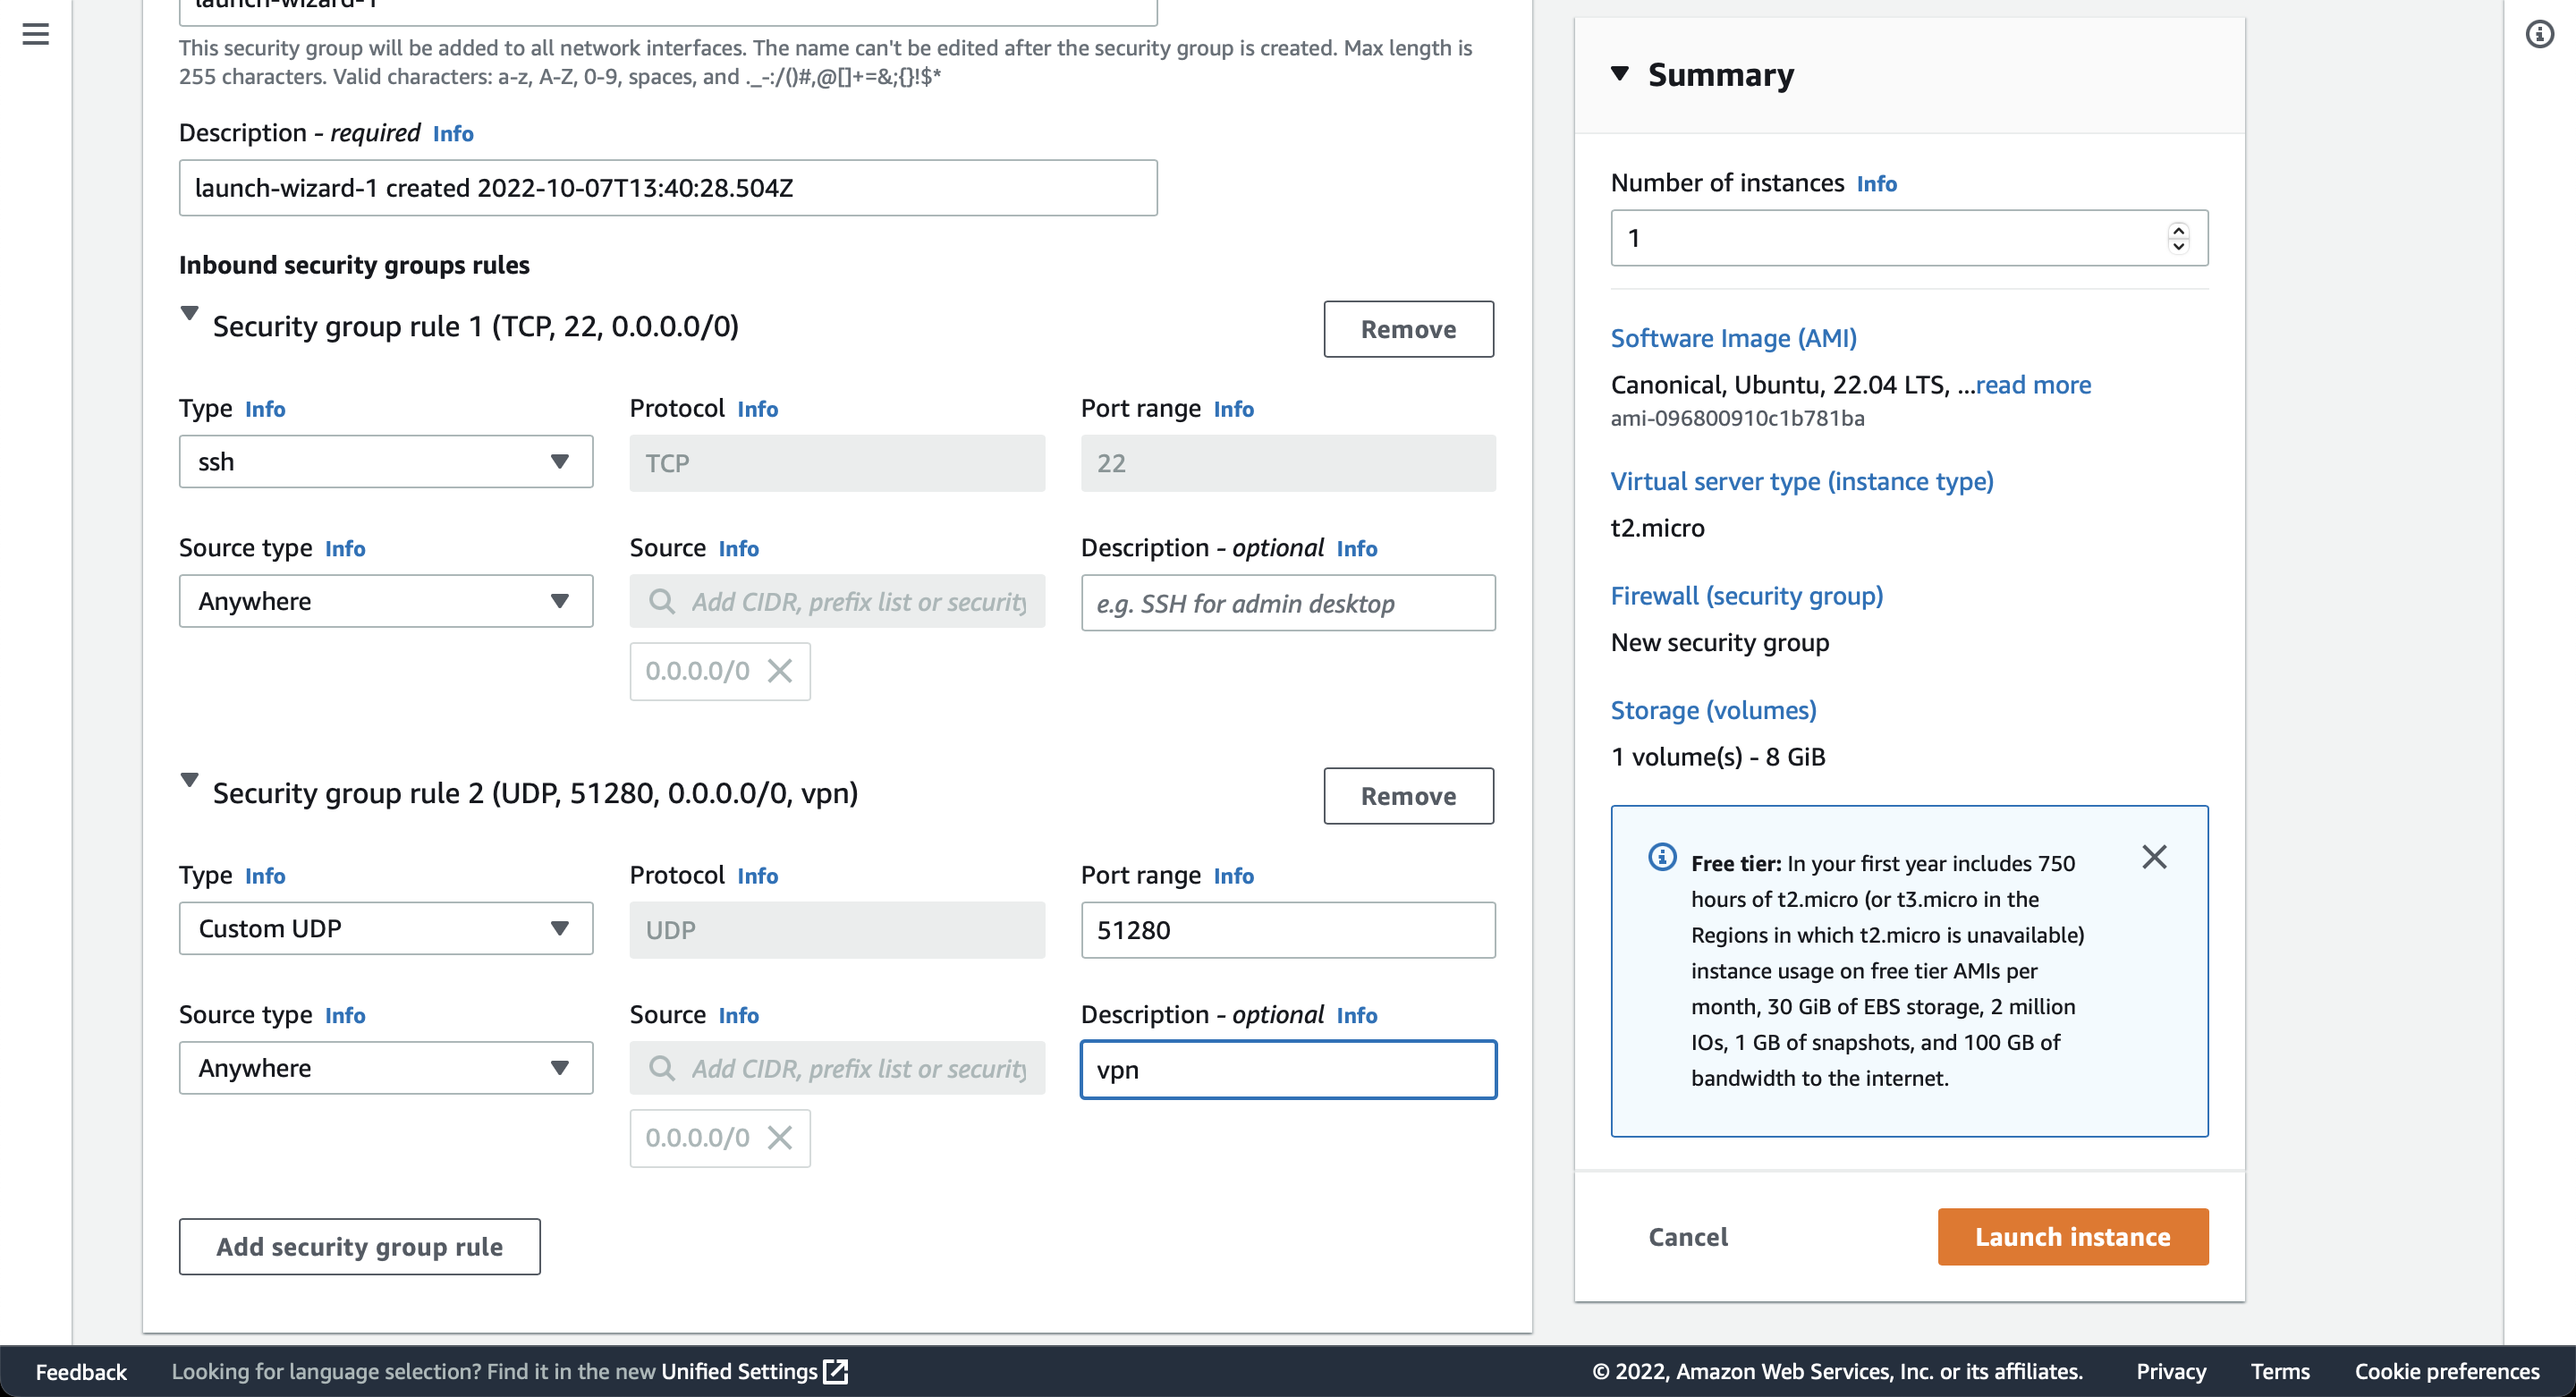
Allow VPN access
Under Network settings click Edit and scroll down to Add security group rule. Select UDP & port 5128, "vpn" as description and if you want to allow access from a specific source ip or range.
Click Launch Instance in the bottom right.
Install Virtual SPR
Navigate to Instances, the newly created instance should be available in the listing and shown as Running, click it. Copy the value under Public IPv4 address and ssh into the box as the ubuntu user:
ssh -i ~/.ssh/awsspr.pem ubuntu@paste-ipv4-address-here
NOTE You can also use the Instance Connect-feature if you don't have access to a ssh client. Click Connect under the Instance Summary to get access to a terminal.
Run the SPR virtual installer with sudo:
sudo bash -c "$(curl -fsSL https://raw.github.com/spr-networks/super/master/virtual_install.sh)"
NOTE: If the script cannot get the public ip address of the instance from one of the network interfaces, it will ask to fetch this from https://ifconfig.me. Answer yes to fetch this or edit this later (Endpoint in the WireGuard config).
The script will download the SPR repository and run virtual_install.sh (you can also checkout the repository and run the script manually if you want to inspect the script before running it.)
If you want to add another device, just run the setup script again:
cd super
sudo ./virtual_install.sh
Now you have a WireGuard VPN config ready, either scan the QR Code or paste the config into the WireGuard client.
For more information on setting up the client see the Virtual SPR Guide on how to connect your VPN client to the instance.