Run Virtual SPR on a DigitalOcean Droplet
Introduction
This guide shows how to setup Virtual SPR on a DigitalOcean Droplet and connect to it using WireGuard VPN.
For a more general and in-depth guide see the Virtual SPR Guide.
Create a Droplet
Login to DigitalOcean and click Create Droplet.
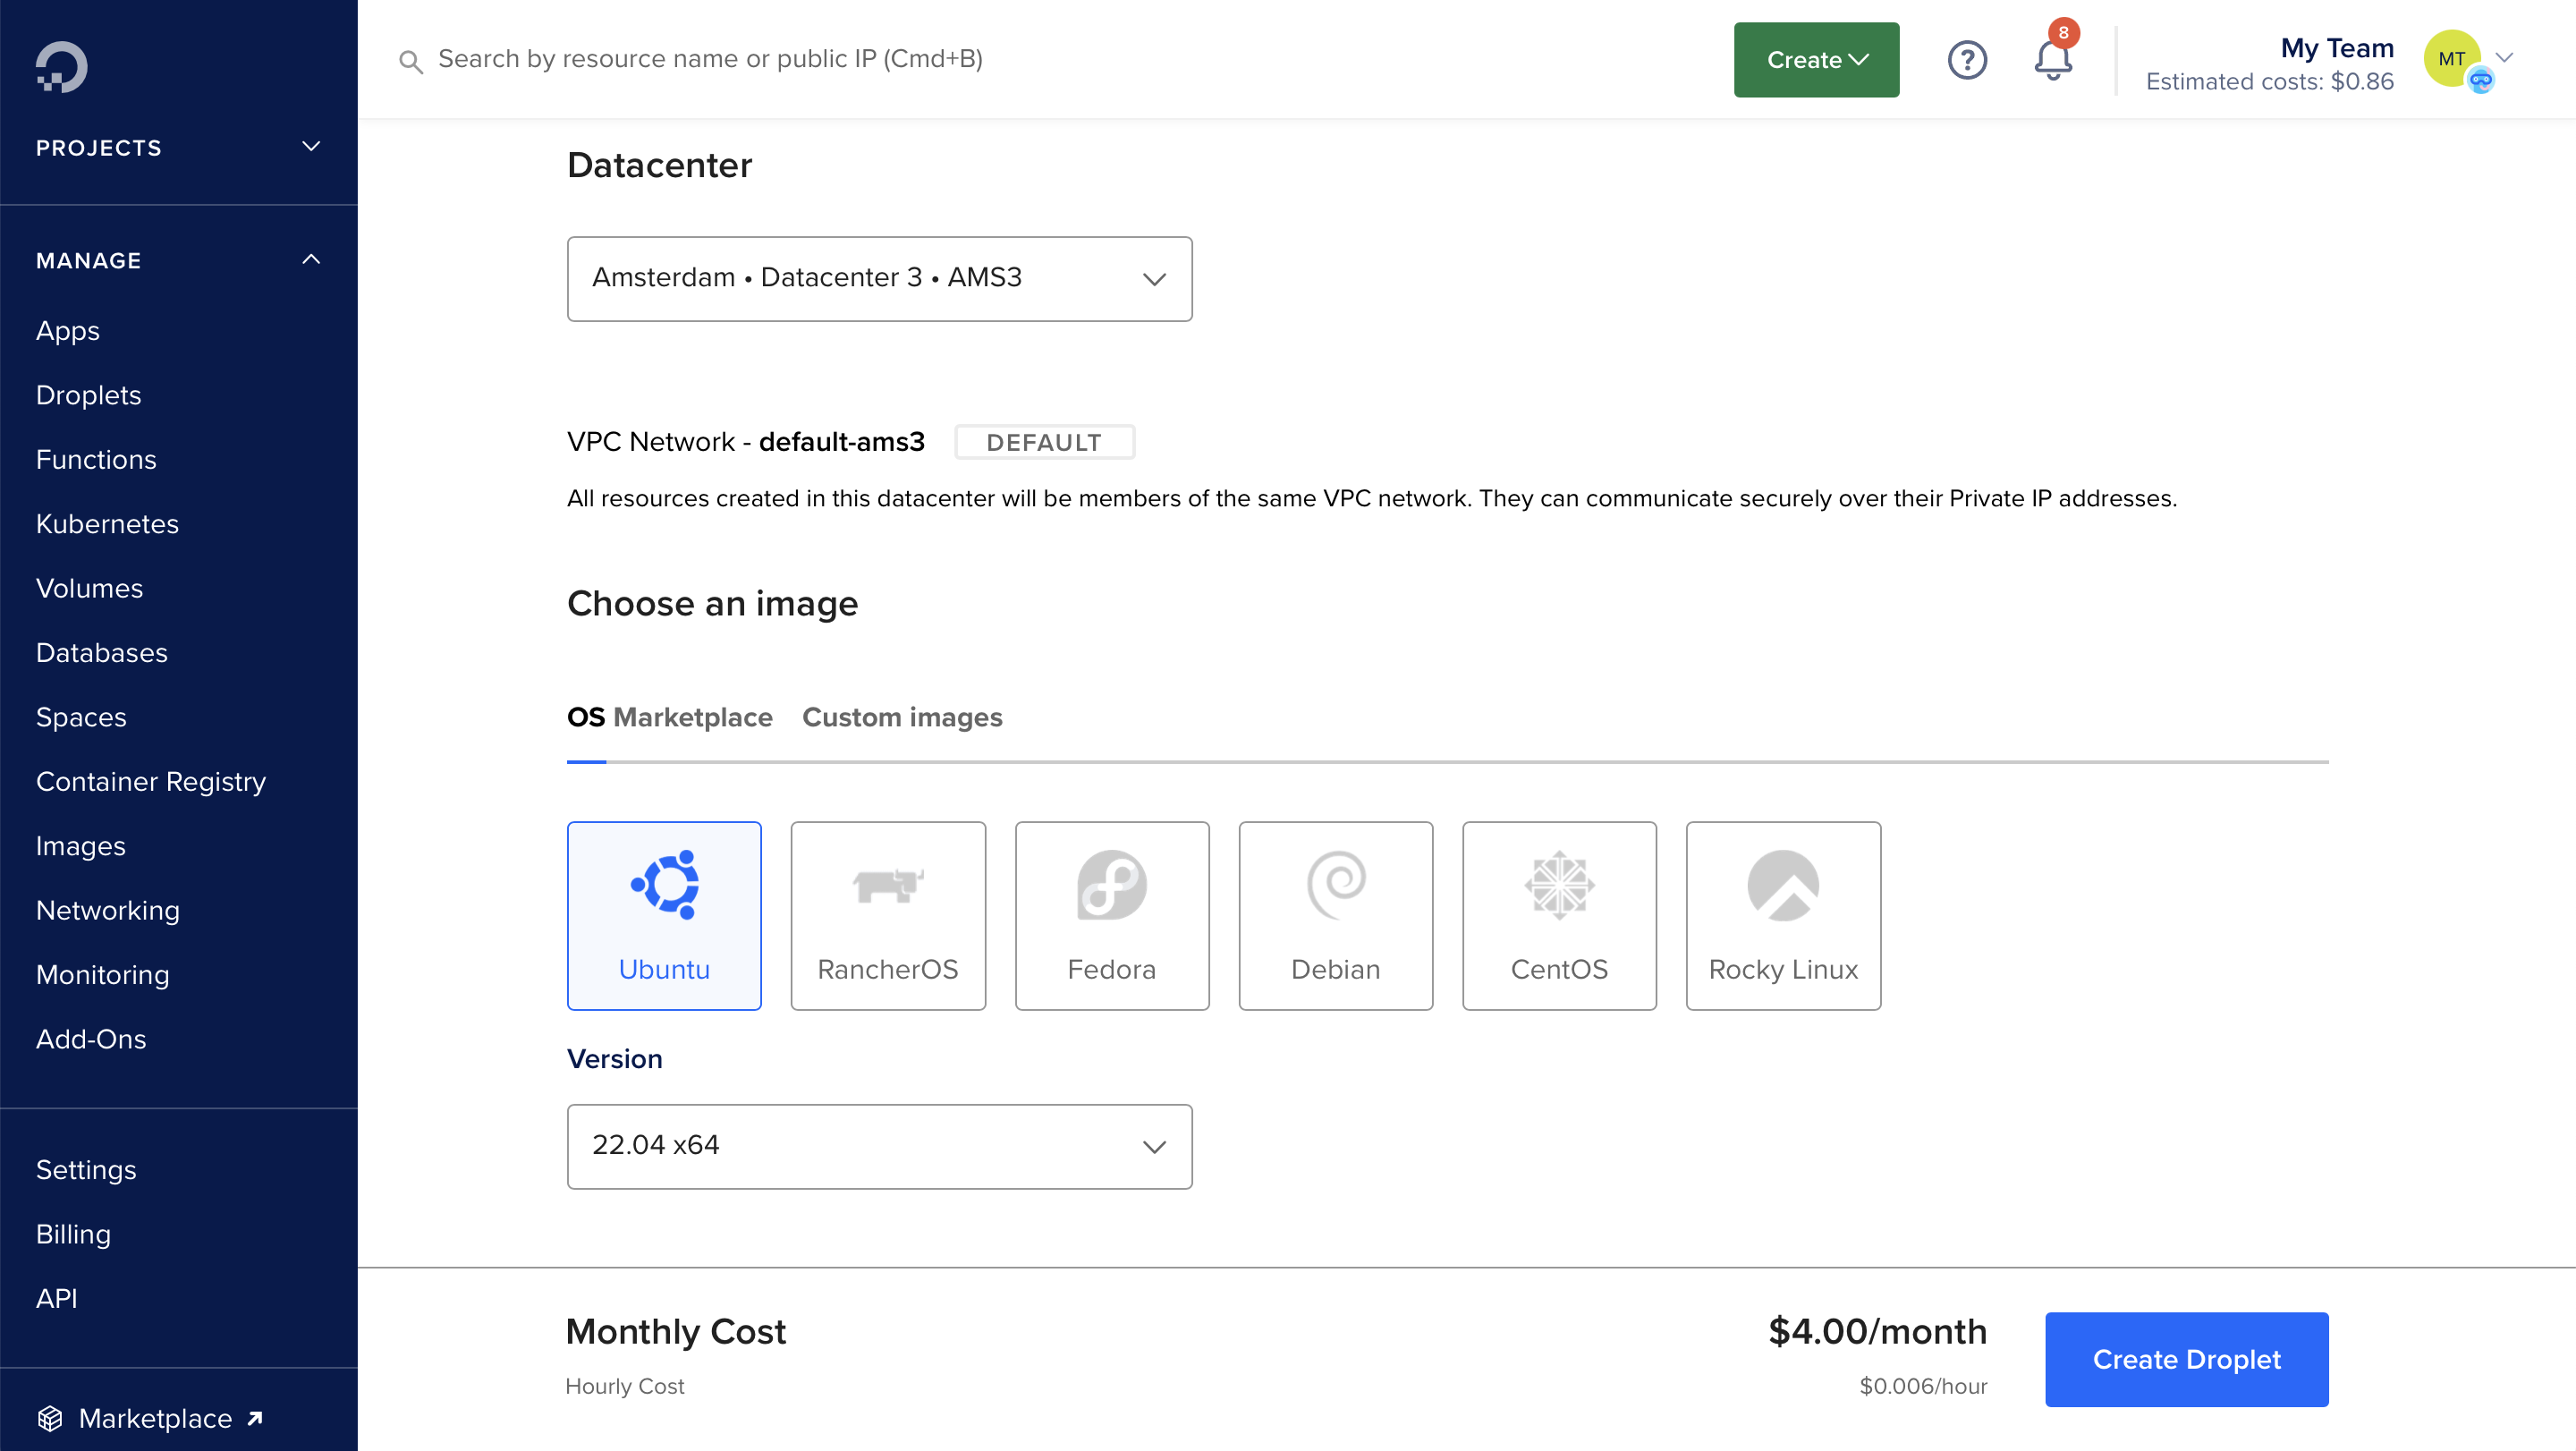
Select prefered Region and Datacenter (Amsterdam and AMS3 in the example), go with default Ubuntu 22.04 x64 for OS and version.
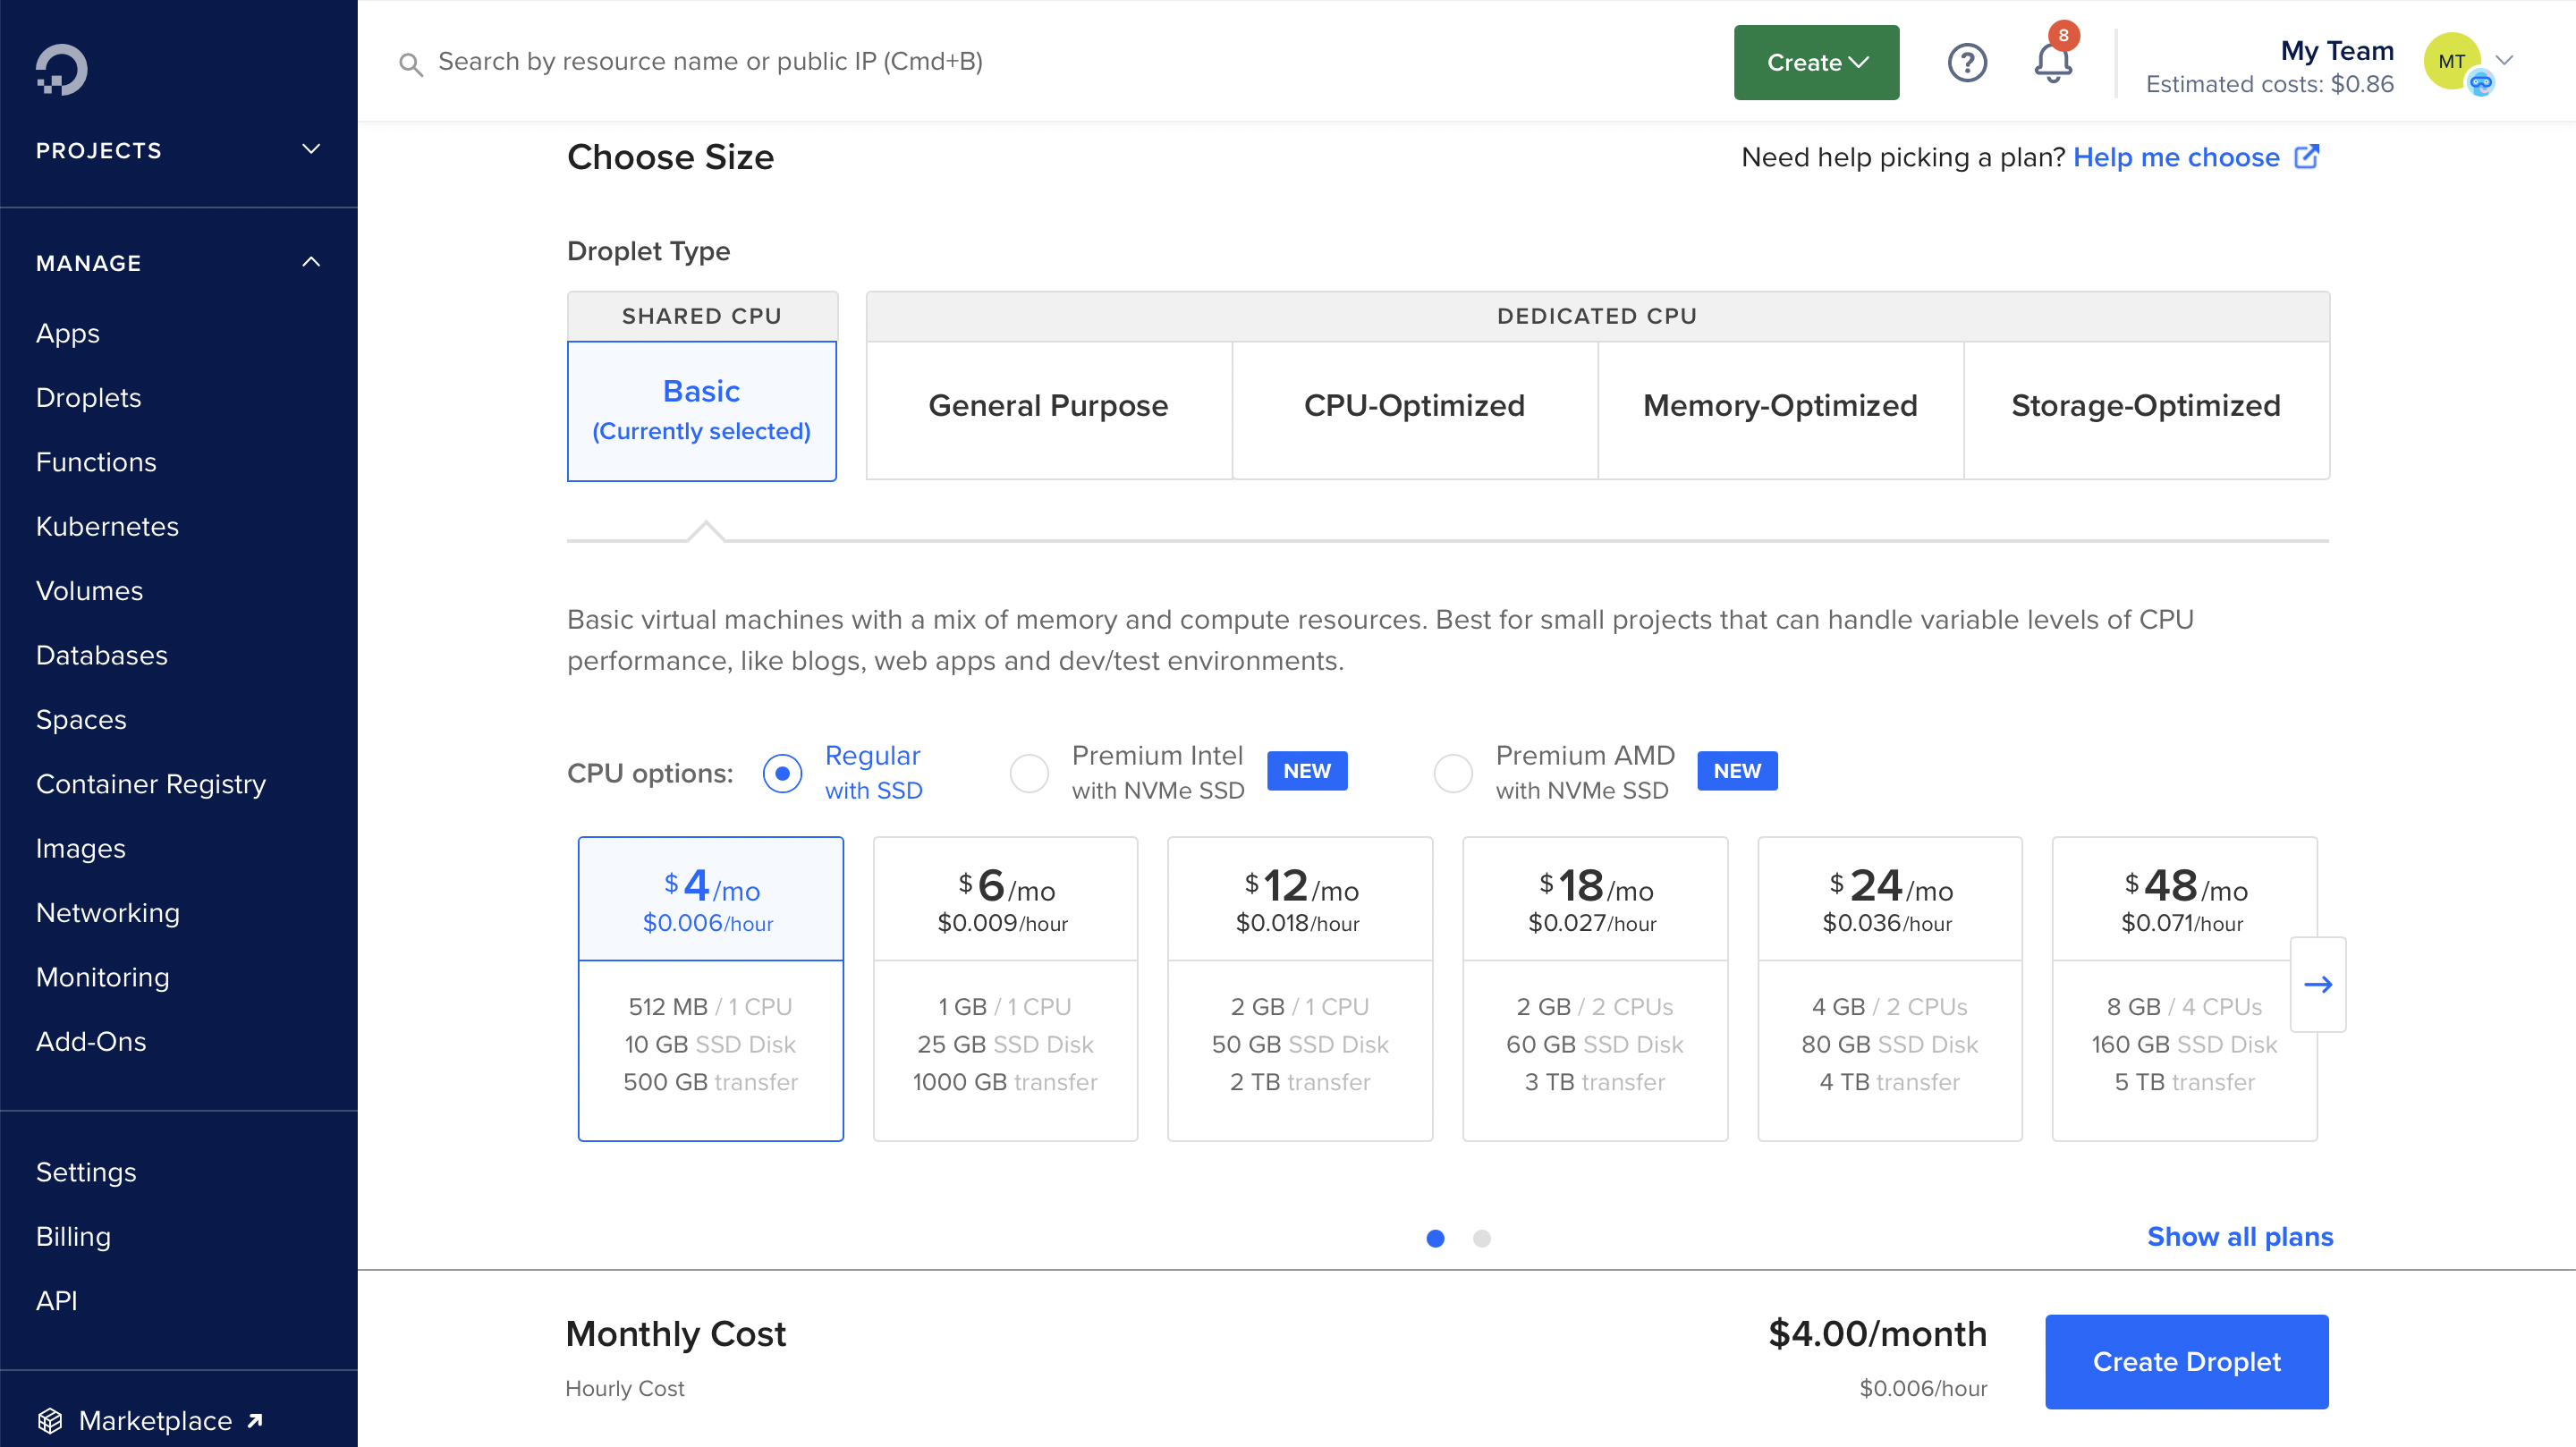
For Droplet Size, the smallest $4/month Basic with 512 MB RAM is enough but feel free to choose another one.
If you already have a ssh key configured for a project you can choose the pubkey or click New SSH Key for Choose Authentication Method.
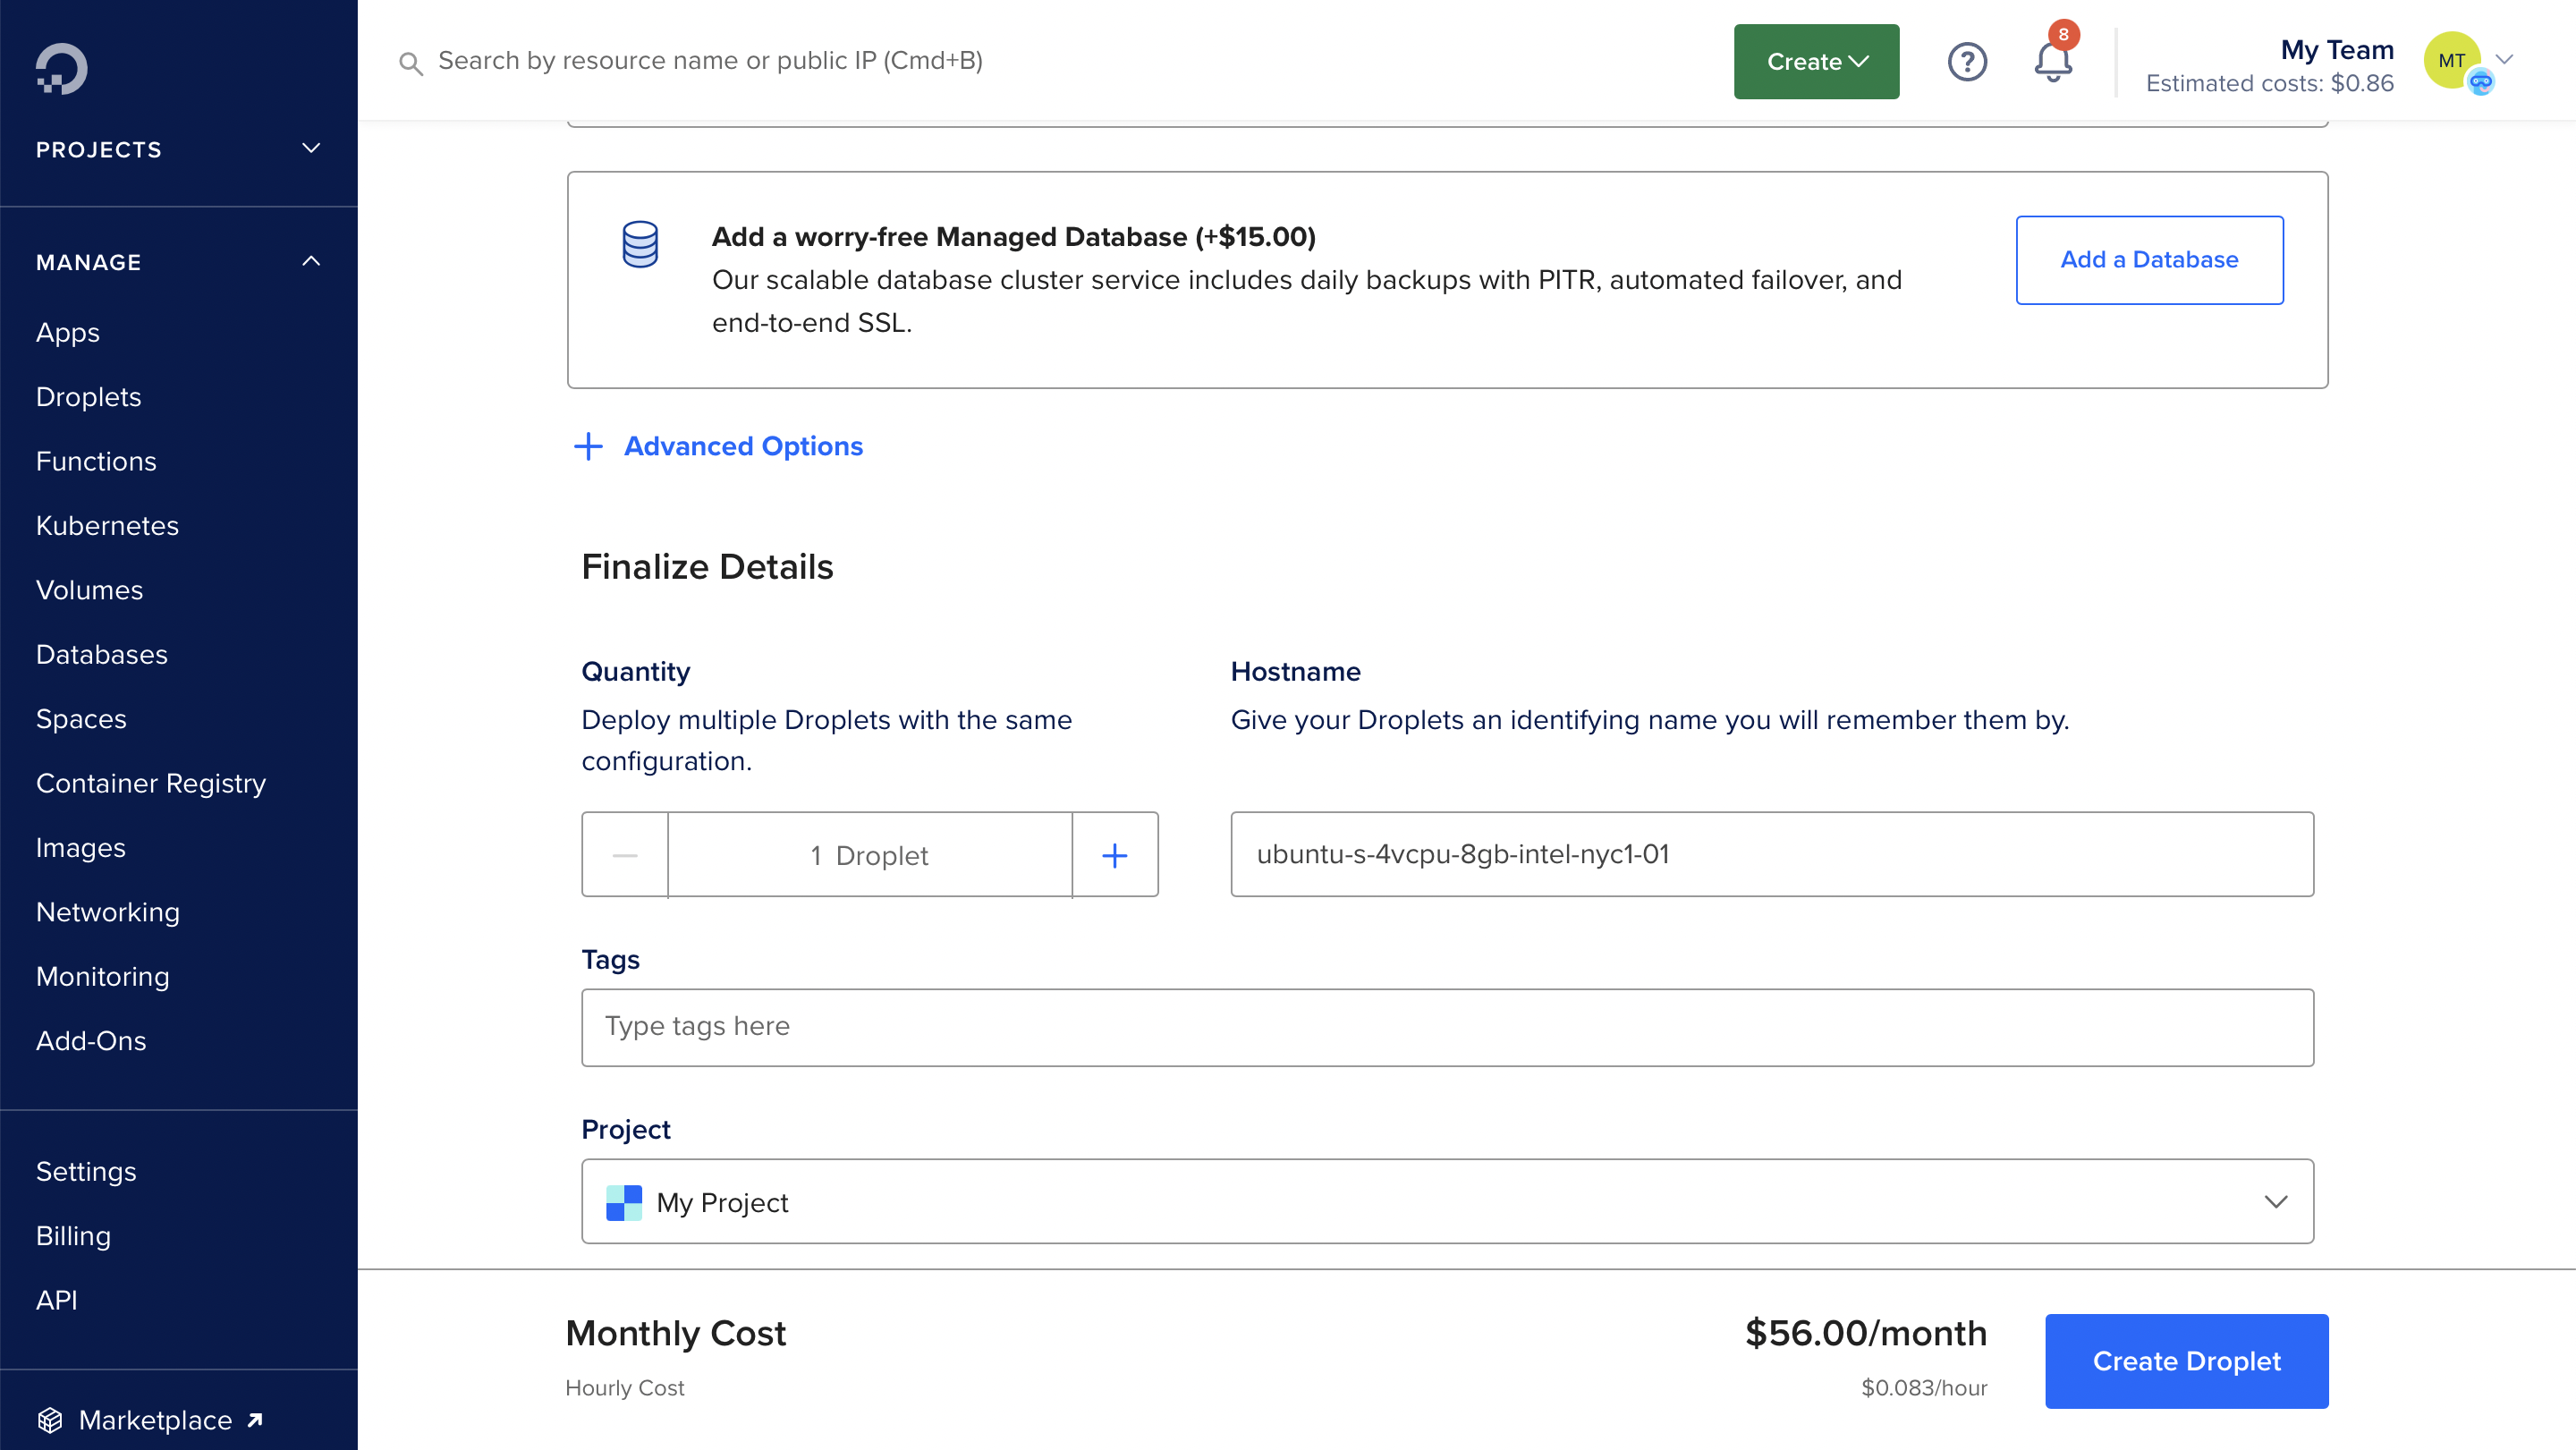
Click Create Droplet & wait for it to spin up.
Install Virtual SPR
When the droplet has started, copy the ipv4 address and ssh into the box using your ssh key as root:
ssh -i .ssh/id_rsa root@paste-ipv4-address-here
Run the SPR virtual installer as root on the droplet:
bash -c "$(curl -fsSL https://raw.github.com/spr-networks/super/master/virtual_install.sh)"
The script will download the SPR repository and run virtual_install.sh (you can also checkout the repository and run the script manually if you want to inspect the script before running it.)
If you want to add another device, just run the setup script again:
cd super
./virtual_install.sh
Now you have a WireGuard VPN config ready, either scan the QR Code or paste the config into the WireGuard client.
For more information on setting up the client see the Virtual SPR Guide on how to connect your VPN client to the droplet instance.